Setting up your Development Environment
Setting up your Development Environment
In this section we will set up our development environment and then create a “Hello World” Android app that will open and run in your Android emulator.
Prerequisites
To begin making web apps you will need to download and install Android Studio. You can download this from this site http://developer.android.com/sdk/index.html.
Structure of an Android Project
Before we proceed we will go through an overview of how a typical Android project is organized. We will learn about some important files they we’ll be interacting with during the course of this tutorial.
A typical Andriod project has the following structure.
- manifests: This directory holds your manifest file
- assets: This is where you store all the assets needed by your app. i.e. ../images, html, css, javascript files etc
- res
- layout :This directory stores all your layout files
- app: This directory holds the Java source codes for your App
There are three important files that you need to know about. These are,
-
AndroidManifest.xml: This file describes your app. It also also the file where you put the permissions that your app will need access to. It is stored in the “manifests” directory.
-
MainActivity.java: This is the main java Activity file the drives your App. This is usually stored in a directory path under the “app” directory.
-
activity_main.xml: This file describes the layout of the display of your App. This is stored in the “layout” directory which in turn is inside the “res” directory.
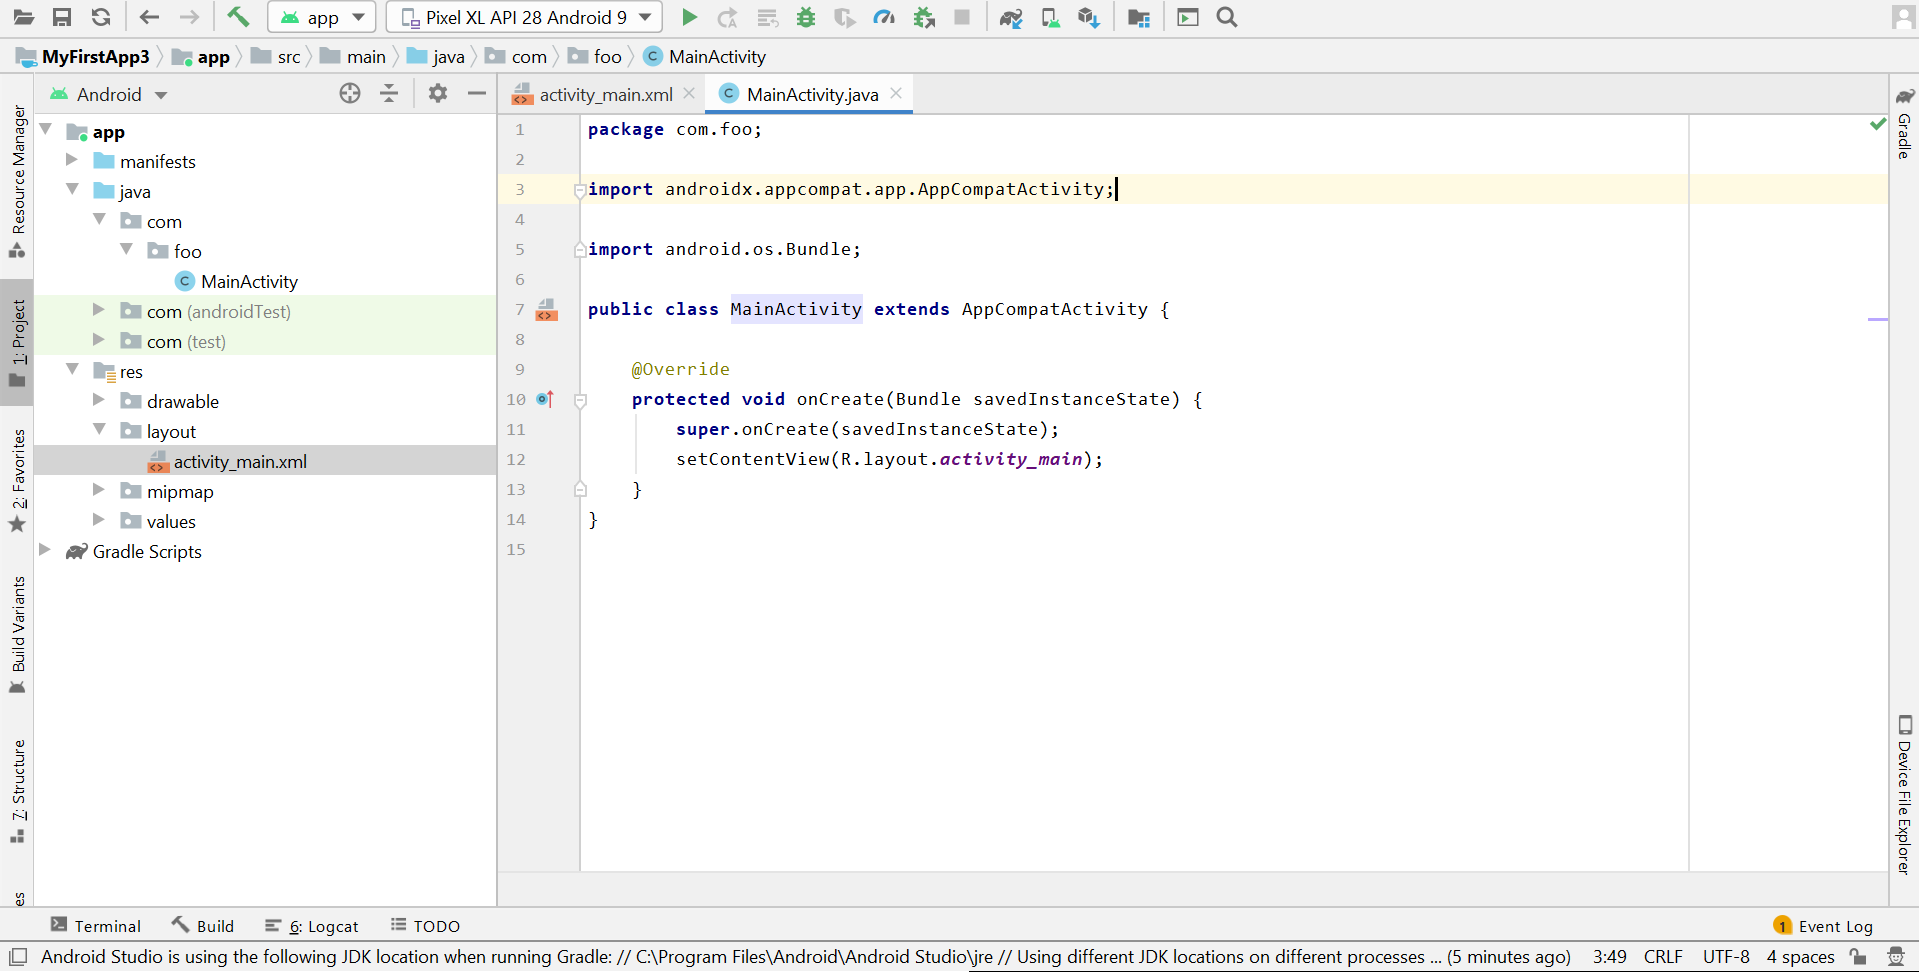
The directory structure of a typical Android project is shown in the following figure.

We are now going to create our first app by following these steps.
Set up your Android Studio Development Environment
Create an Android Project
-
Open Android Studio. If you are presented with a Welcome to Android Studio screen then click “Start a new Android Studio project” otherwise navigate to File -> New -> New Project

-
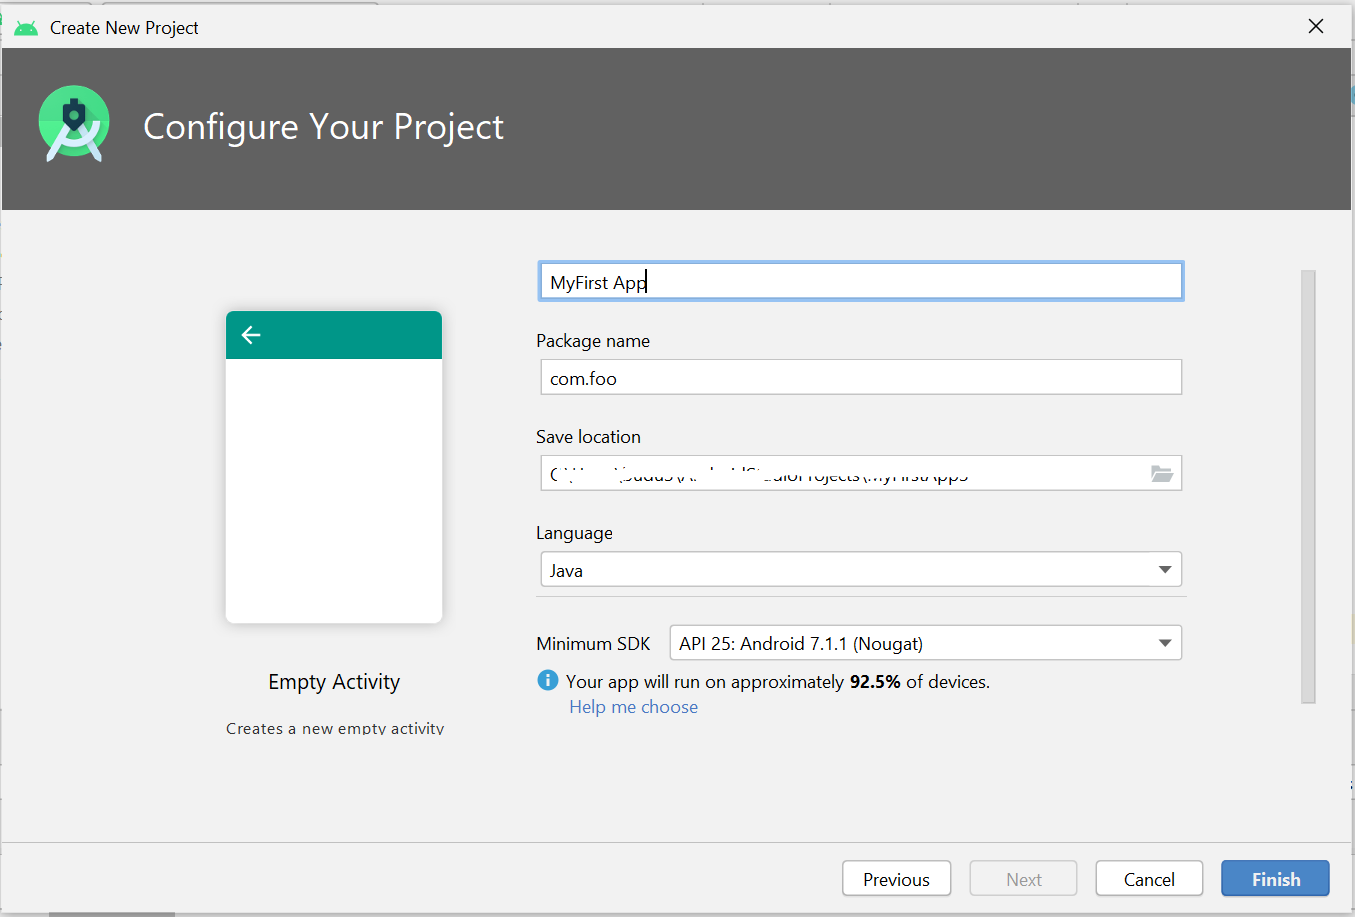
Fill in the fields in the Configure your new project screen as shown in the figure then click Next
-
Application name: This is where you enter a name for your application
-
Package name: This is where you enter a package name
-
Project location: Enter where you would want your app to be located
Enter the following values;
-
Application name: My First App
-
Package name: com.foo
-
-
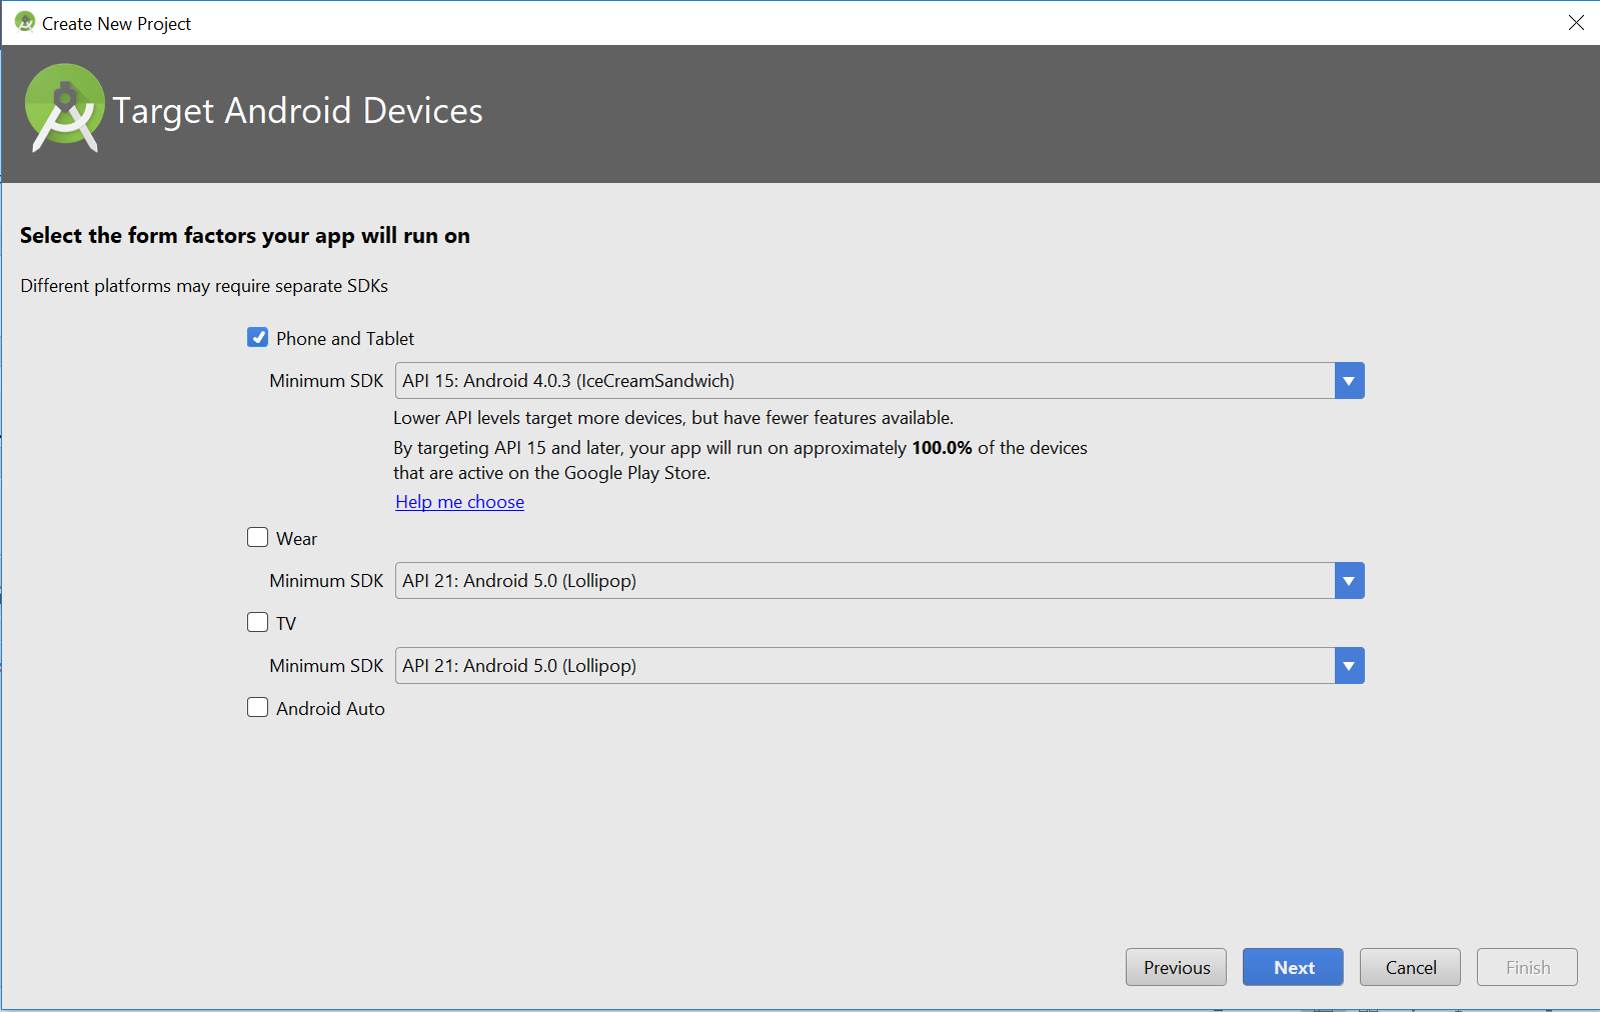
Accept the default options on the Select the form factors your app will run on screen and click Next
-
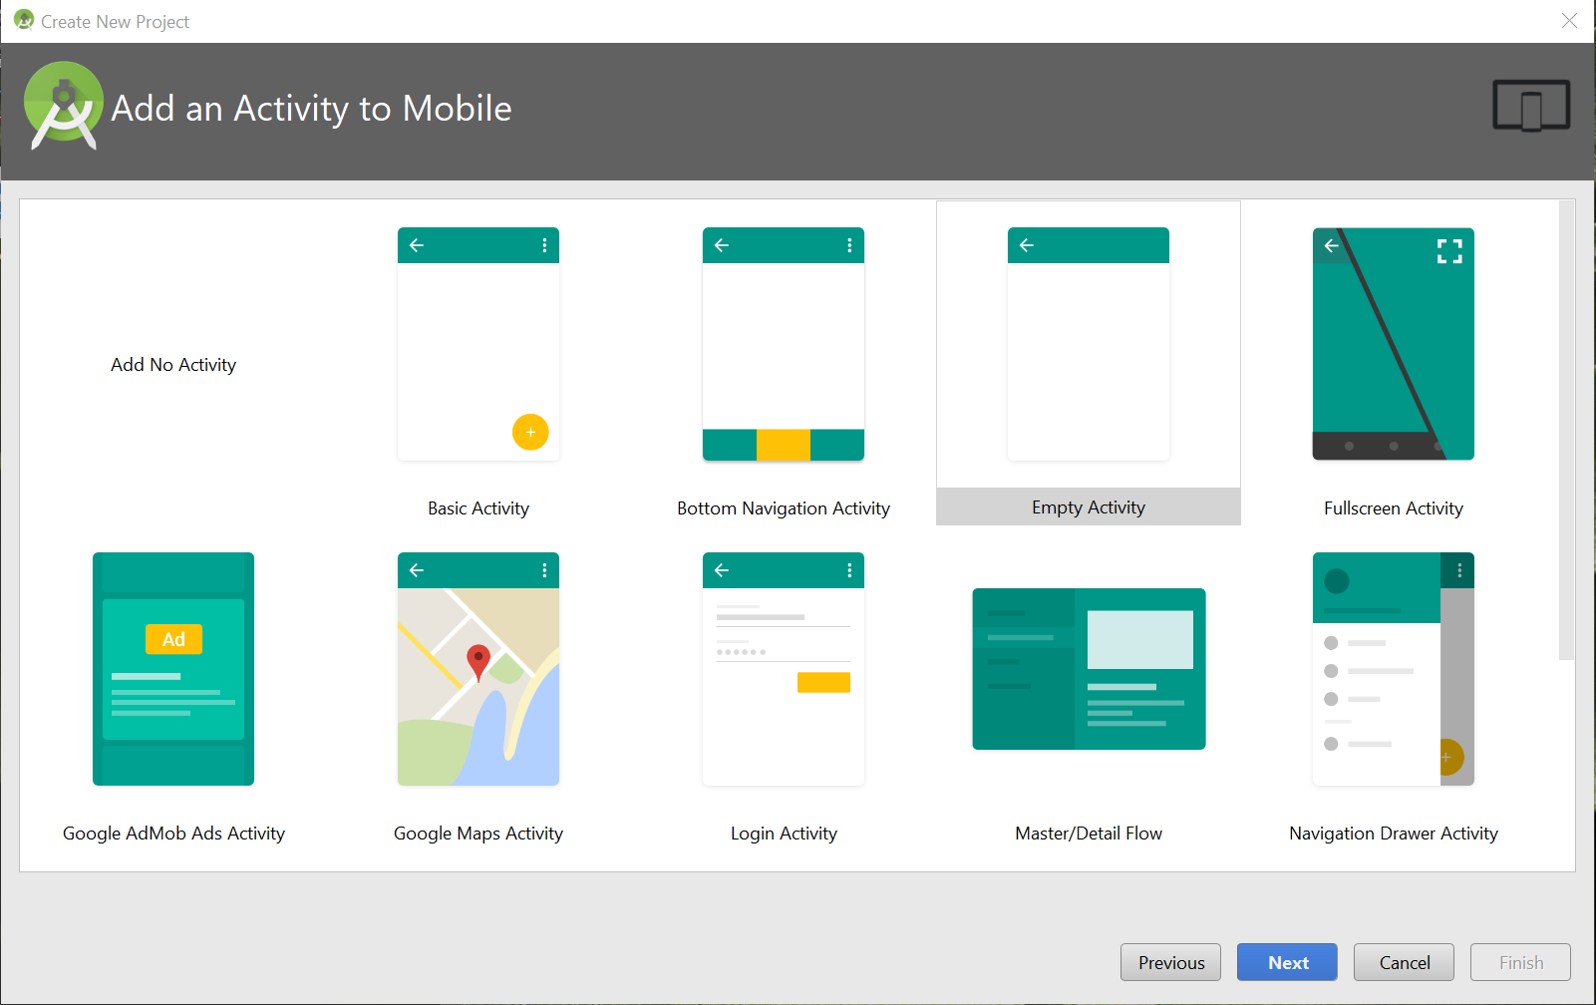
Select the “Empty Activity” options on the Add an Activity to Mobile screen and click Next
-
Accept the default options on the Customize the Activity screen and click Finish

Create your MainActivity.java file
-
In Android Studio navigate to your MainActivity.java file. Mine is located at app -> java -> com -> foo -> MainActivity.java
Setup your Layout
-
In Android Studio navigate to app -> res -> layout -> “activity_main.xml”
-
If it is not already so, in your “activity_main.xml” file change the text in the TextView to “Hello World!”

Run your App
This is explained in the Running your App in the Android Emulator and Running your App on a Mobile Device chapters.
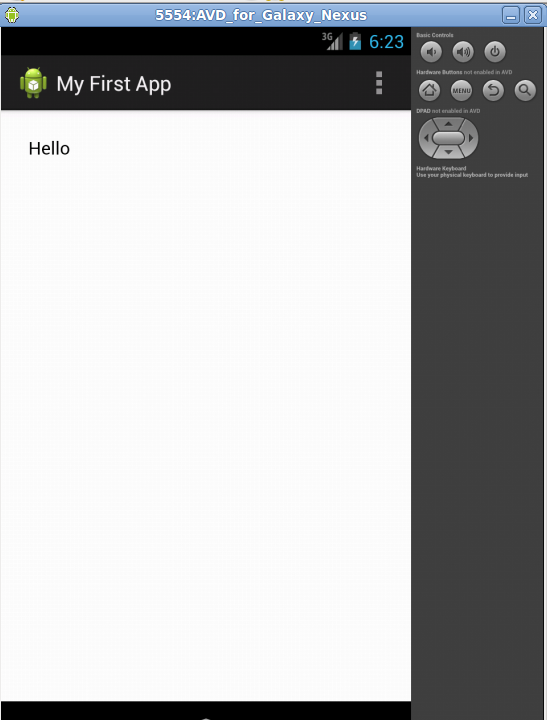
[The Android Emulator.][6pt]{The Android Emulator.}(fig:emulator)
Summary
In this section we learnt how to create an Android project in Android Studio. We then ran the app in an Emulator.